HYDROTECH TFC 4 VESSEL FILTER CHANGE INSTRUCTIONS:
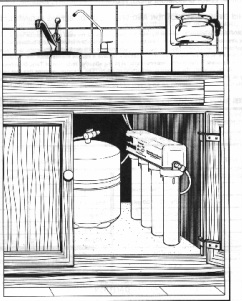
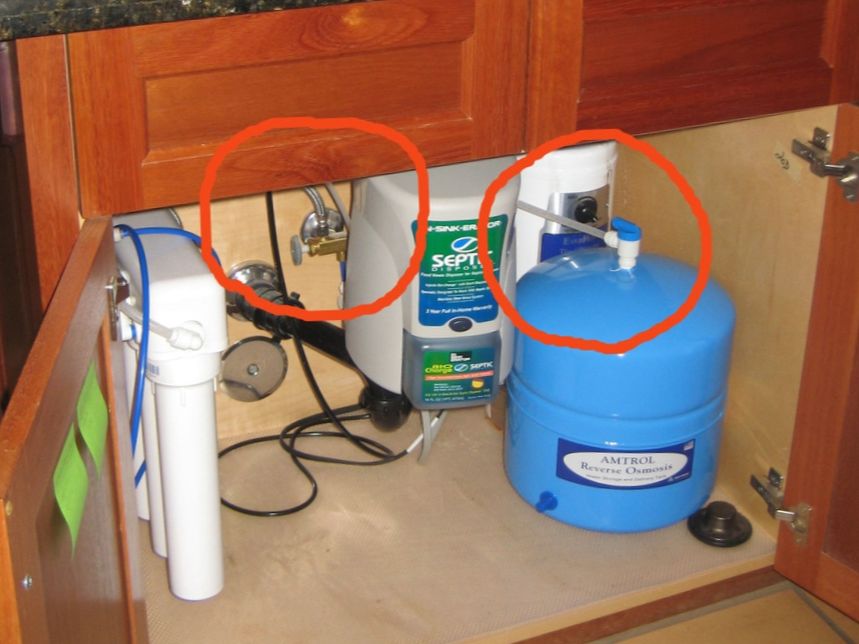
1. Close the storage tank valve located at the top of the tank (see diagram at bottom of page). 2. Turn off the water going to the system at the cold water line under your sink. 3. Open your pure water spigot to release the pressure, then close it. 4. Unscrew and remove the white housings for the pre-sediment (on the right as you face the unit), the precarbon block (next to the pre-sediment filter), and post carbon block (on the left as you face the unit) filters from the manifold. Use a Hydrotech filter wrench to loosen for better grip and leverage. |
5. Clean the housings with mild detergent or baking soda and warm water.
6. To Insure a sanitary replacement, open the bottom of the bag containing the new sediment filter. Make sure that the "O" ring located at the bottom of the housing is securely lodged in it's groove and stays in place. Insert the filter into the housing (the end with the opening/"O" ring goes up, the closed end goes down into the housing), then remove the bag. Screw the housing back up onto the cap on the far right side of the manifold, making sure that no lines get crimped. (If it is necessary to use the filter wrench to screw the housing back on, be careful not to exert too much force-the housing could crack, or be very difficult to unscrew next time). Repeat this for the pre carbon filter (2nd to R, next to pre-sediment) and the carbon block filter (left side).
7. Immediately after installing the new filters, turn the water on at the source, open the storage tank valve, open the pure water spigot and drain for 1 to 2 minutes (or 1/2 gallon minimum), in order to flush out the loose carbon fines. While the water is running, check the tops of the housings and the connections for leaks (just in case the housing needs to be better secured, or something got tugged etc.). Check the system for leaks again after closing the spigot.
Your system is now ready to go! If you are changing the membrane, see membrane change instructions. It is normal that your water may have little bubbles or appear whitish for up to two weeks after changing your filters, while the air pockets in the filters & the line are being worked out.


